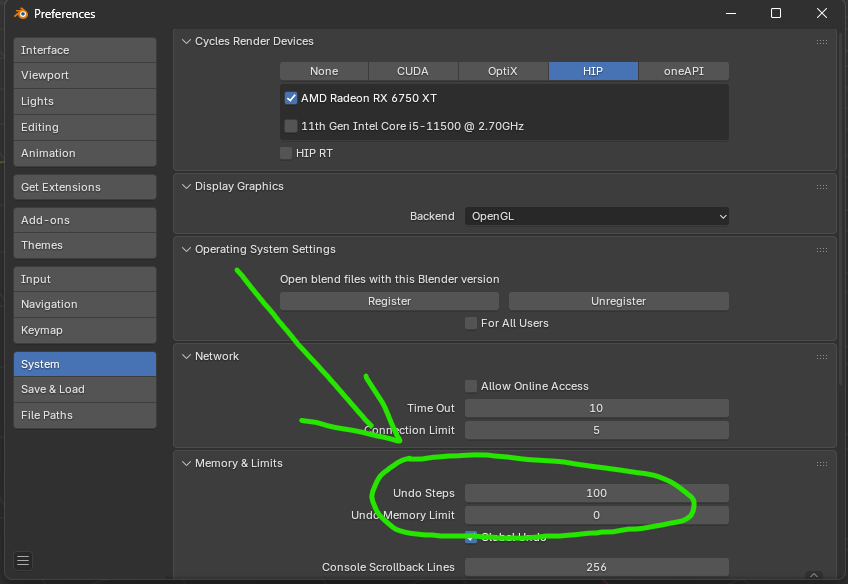
Before you start modeling, take 5 minutes to configure Blender properly. It will make your workflow faster, more comfortable, and help you avoid common beginner mistakes.
Keep Blender’s interface in English, as most tutorials, documentation, and community resources use English menus and terminology. This makes it much easier to follow guides and learn new techniques.
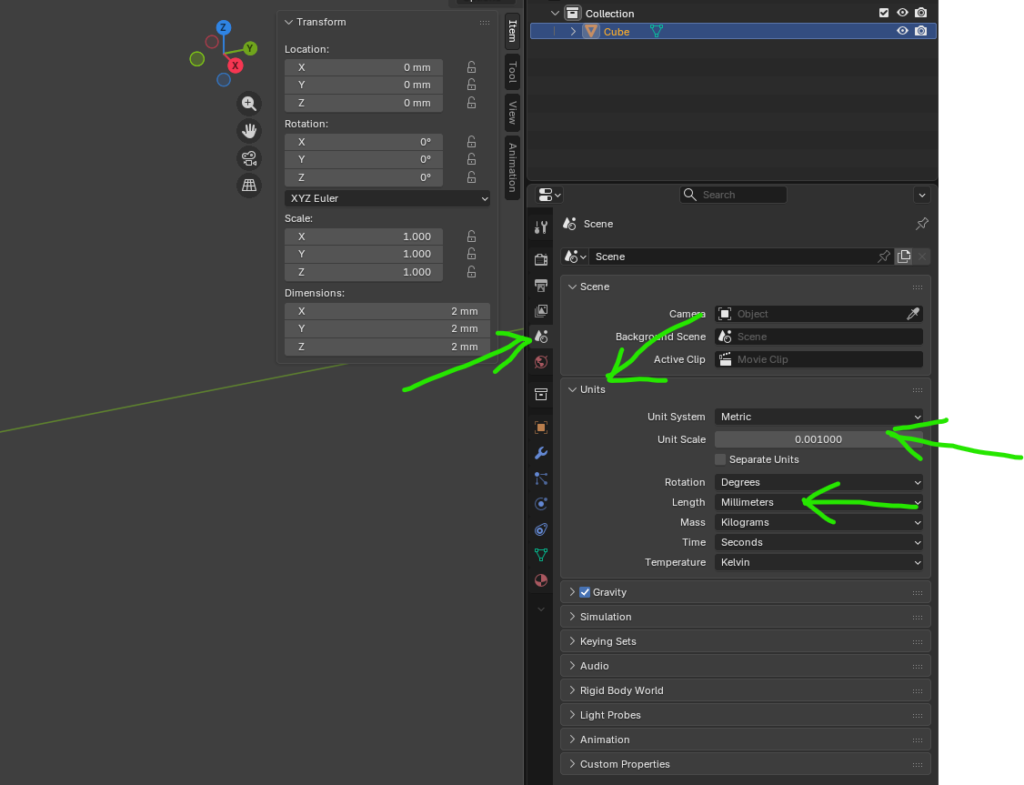
Blender’s default scale does not match real-world dimensions used for 3D printing.
Set Unit System to Metric.
Change Unit Scale from 1.000000 to 0.001 (1 Blender unit = 1 mm).
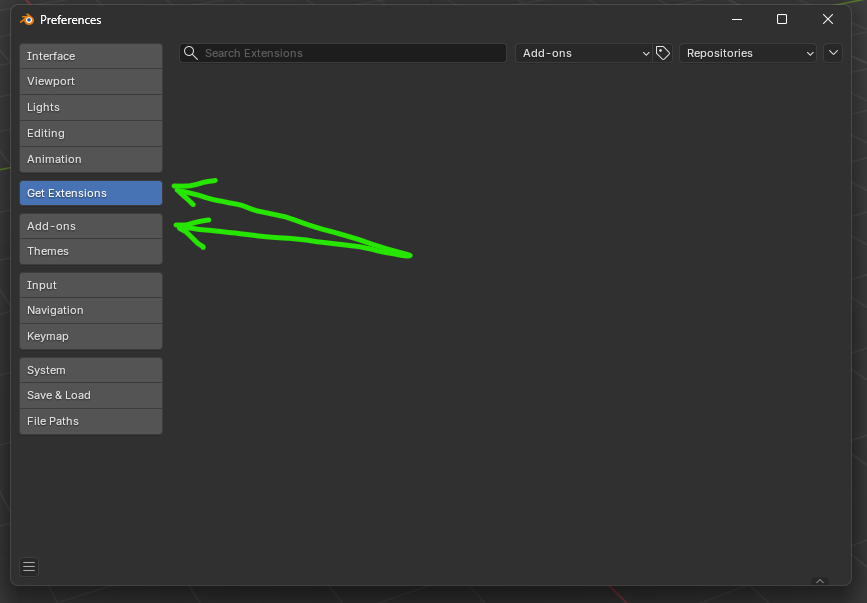
Enable Useful Add-ons
Go to Edit → Preferences → Add-ons and enable:
Enable Useful Extensions (Blender 5.0+)
Go to Edit → Preferences → Get Extensions
Search for and install:
✅ Node Wrangler
✅ LoopTools
✅ 3D Print Toolbox
Important Tip
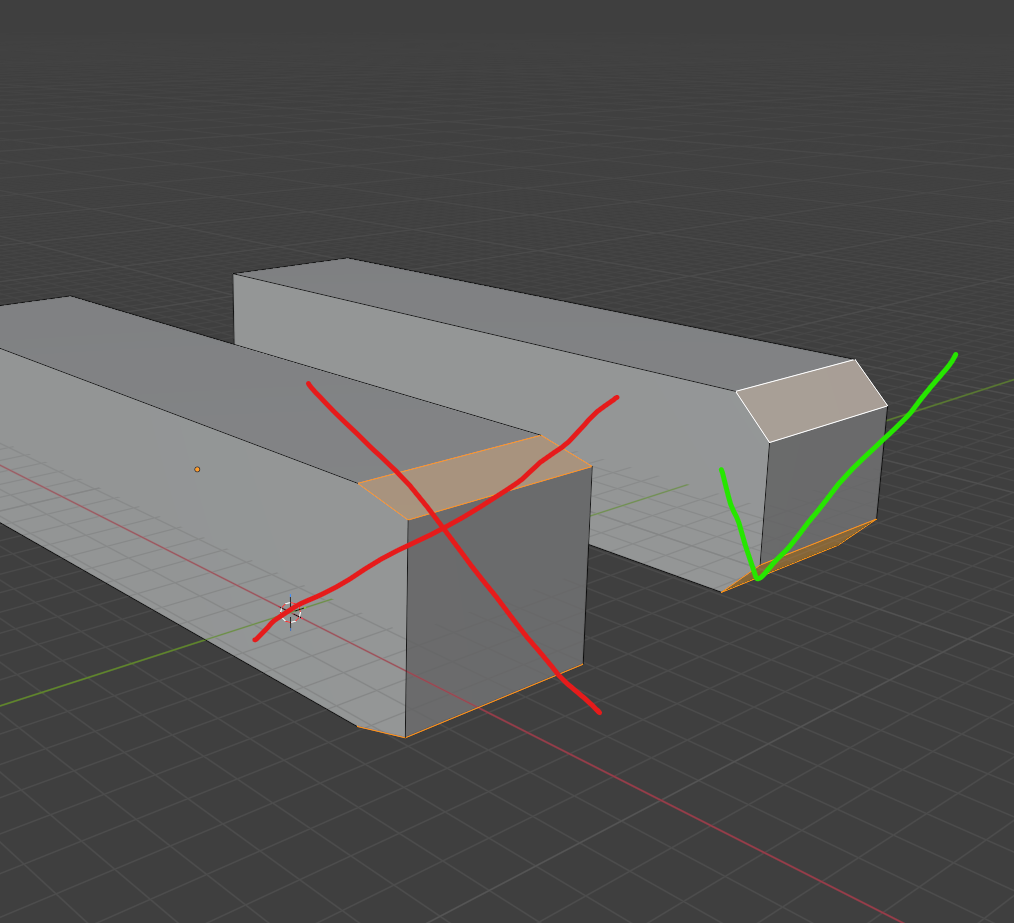
Ctrl + J does NOT merge meshes for 3D printing.
It only joins multiple objects into a single object while keeping their geometry separate.
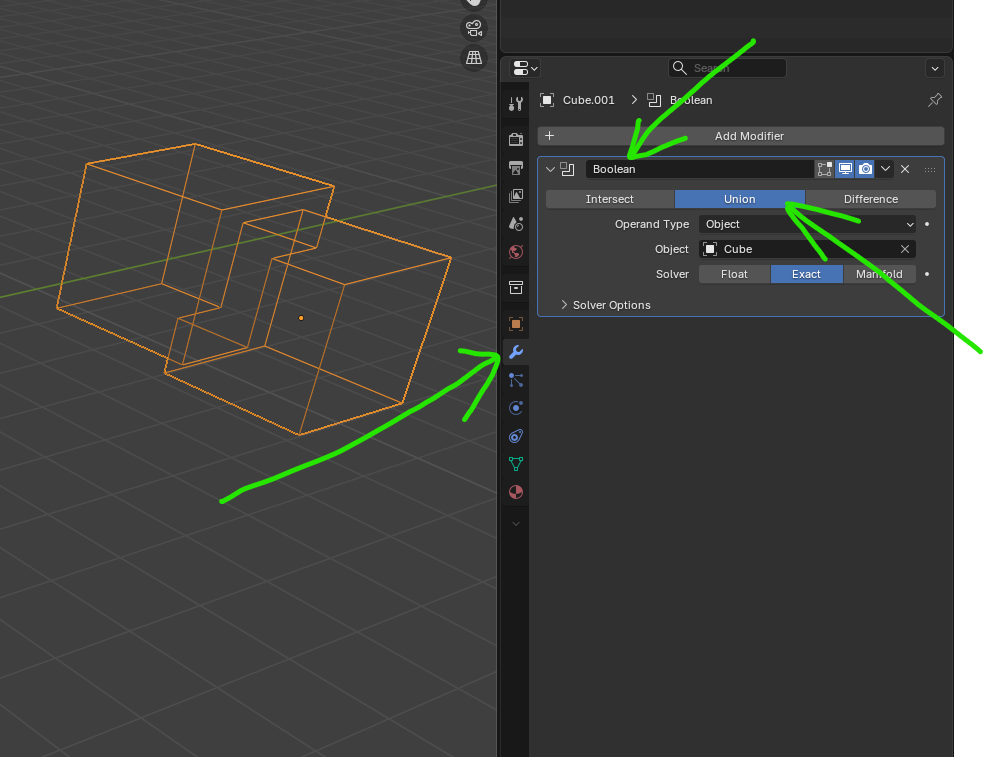
For a true printable solid, use: Boolean Modifier → Union → Apply
This creates one continuous mesh and helps prevent printing issues.
Exporting a GLB Model with Multiple Animations in Blender
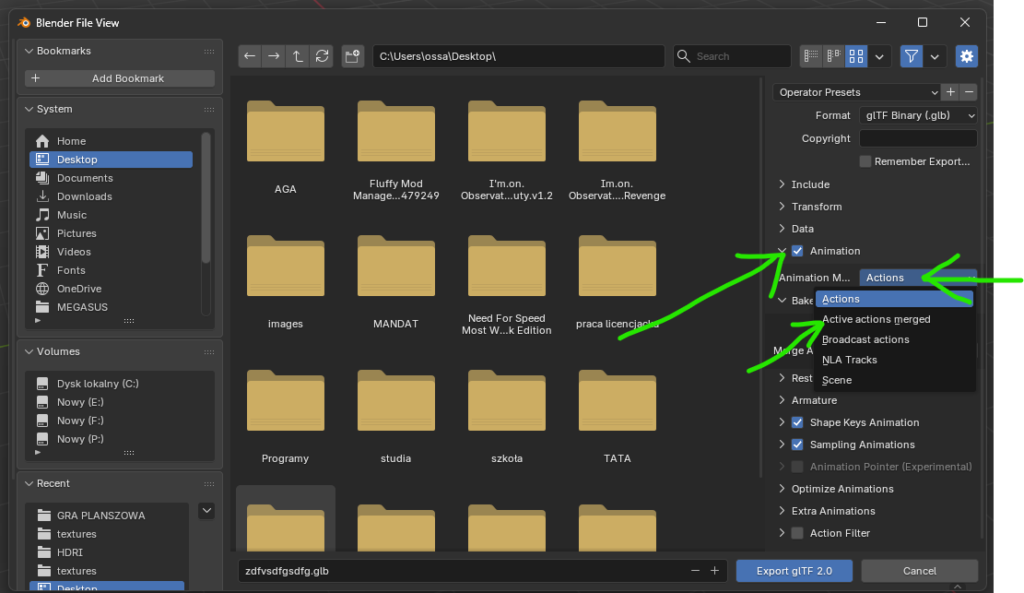
If your model contains multiple animations, but the 3D preview website displays only one of them, enable the following option when exporting the model to a GLB file:
Animation → Actions → Active Actions Merged
This will combine and save all animations into a single GLB file, allowing 3D viewers and web-based model viewers to correctly detect and display all available animations.
Before Applying Modifiers
Before applying any modifiers, make sure to apply the model’s scale. Press Ctrl + A and choose Scale. This ensures that modifiers behave correctly and that the model keeps the expected dimensions during further editing or export.